Key takeaways
- A veteran driller's practical approach to sharpening woodworking tools, from bench chisels and plane irons to auger bits and spade bits.
What's inside
As an Amazon Associate I earn from qualifying purchases. This post may contain affiliate links at no extra cost to you.
Most of the woodworking problems people bring me are not tool problems. They are edge problems. A chisel that crushes fibers instead of slicing them, a plane iron that leaves tracks, a spade bit that burns a brown ring around every hole. Those are all the same complaint wearing different clothes, and sharpening woodworking tools is the fix. I spend most of my working life behind a drill, and I can tell you the difference between a bit that cuts and a bit that scrapes is the single biggest variable in a clean hole. Same story with edge tools.
Here is the part nobody says out loud: sharpening is boring, it takes ten minutes, and almost everyone would rather buy something. So people buy a new chisel set every couple of years instead of learning to put an edge back on the one they own. My goal here is to get you to a repeatable routine that takes less time than driving to the store, using gear you can pick up once and keep for a decade or two.
As an Amazon Associate we earn from qualifying purchases at no extra cost to you. Product prices and availability are accurate as of the date shown and are subject to change.




Sharpening Woodworking Tools: The Three Systems Worth Your Money
You do not need every abrasive on earth. You need one coarse option for repairing damage, one medium for the working edge, and one fine for polishing. Everything else is preference. Here is how the three common approaches actually compare in a home shop.
| System | Best for | Real trade-off |
|---|---|---|
| Diamond plates | Chisels, plane irons, carbide touch-ups | Cut fast and stay flat forever, higher up-front cost |
| Waterstones | Fine finish, polished edges | Beautiful results, need flattening and water management |
| Sandpaper on glass (scary sharp) | Beginners, occasional users | Cheapest start, consumables add up if you sharpen often |
If you sharpen once a month, sandpaper on a flat surface is honestly fine. If you sharpen every weekend, diamond plates will save you money and frustration inside a year because they do not dish out and they do not care if you leave them dirty. Waterstones cut the fastest per stroke and leave the prettiest polish, but they are a small commitment: you flatten them, you soak or splash them, and you keep a mess towel handy.
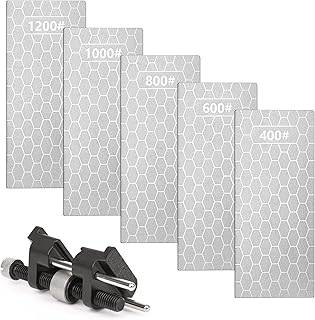
Diamond sharpening plate set (coarse / fine)
If I could only own one sharpening thing, this is it. A two-sided or two-plate diamond setup handles chisels, plane irons, marking knives and even a quick pass on a carbide spur. Look for a continuous or interrupted surface in roughly 300 to 1000 grit range and skip the ultra-cheap unbranded plates, which tend to shed diamond in the first few sessions. Break a new plate in on something scrappy before you touch a good iron.
The Angles That Actually Matter
Angle talk gets treated like religion. It is not. There are three numbers worth remembering.
25 degrees is your primary bevel on most bench chisels and plane irons. That is what the factory grind is close to, and it is a good balance of keenness and support. 30 degrees is your micro-bevel, the tiny polished facet right at the tip. Because it is only a hair wide, you can hone it in seconds instead of grinding the whole bevel. 35 degrees is for abuse: mortise chisels, anything you strike hard, anything going into hardwood end grain.
The technique that matters more than the number is consistency. Freehand sharpening is a real skill and worth learning eventually, but a simple side-clamping honing guide gets a beginner to a scary edge on day one. Set your projection, clamp the iron, and roll. When you want a micro-bevel, pull the guide back a few millimeters and take five light strokes on your finest grit. That is it.
Flat Backs, Burrs, and Why Your Chisel Still Will Not Cut
An edge is the intersection of two surfaces. People polish the bevel to a mirror and forget the back entirely, then wonder why the tool is dull. If the back of the blade is not flat and polished for the first half inch or so, you do not have an edge. You have two rough surfaces meeting at a jagged line.
Flatten the back once, properly, when the tool is new. Lay it flat on your coarse abrasive, work it until the scratch pattern is uniform right up to the cutting edge, then step up through your grits. After that first session you only ever need a couple of strokes on your finest stone to remove the burr.
Speaking of the burr: that little wire edge that curls off the tip is your proof the two surfaces met. Feel for it with a thumb dragged across the back, never along the edge. Then remove it. A dozen light passes on a leather strop with honing compound, bevel side then back side, alternating and always dragging away from the edge. Stropping is the step people skip and it is the step that turns sharp into surgical.
- ✔ Honing guide removes the guesswork on angles for a beginner
- ✔ Micro-bevels mean 60 second touch-ups instead of full regrinds
- ✔ A strop and compound cost very little and dramatically improve the final edge
- ✔ A flat back done once lasts the life of the tool
- ✘ High-speed grinders burn thin edges fast if you are impatient
- ✘ Waterstones need periodic flattening, which is another tool to buy
- ✘ Cheap diamond plates can shed abrasive and are not truly flat
- ✘ No amount of honing fixes a badly hardened budget chisel
Drill Bits: My Corner of the Shop
This is where I live, so let me be specific. Drilling bits go dull differently than chisels, and each type has its own rule.
Brad point bits have two spurs and two cutting lips. Touch up the inside face of each spur with a small diamond file or a fine needle file, and take a couple of light strokes on the top face of each cutting lip. Never grind the outside of the spurs. That is what sets the diameter, and once you take it down the bit drills undersize and stops slicing a clean rim.
Auger bits live or die on the lead screw and the spurs. Clean the threads on the screw with a wire brush, then file the inside of each spur and the top of each cutting lip with an auger bit file. If the threads are stripped, the bit will not pull itself into the wood and no amount of pressure fixes it. Retire it.
Spade bits are the easy win. Two flat cutting edges and a point. Lay a file on the existing bevel, follow the angle already there, and take equal strokes on both sides so the bit stays balanced. Ten strokes each side and a burning spade bit turns into a cutting one.
Forstner bits only get filed on the inside of the rim and on the top of the chip lifters. The outside of that rim is the diameter and the reason a Forstner leaves a flat-bottomed hole with a glass-smooth wall. Touch the outside and you have ruined the bit.
Twist bits in HSS can be resharpened, but honestly, for small diameters in a hobby shop, replacement is often the better use of your evening. Above roughly a quarter inch, learning to grind the lip relief on a bench grinder or a drill bit sharpener pays off.
One technique note that saves more bits than sharpening does: heat is the enemy. Dull edges come from friction, and friction comes from spinning fast with light pressure. Big bits want low speed and steady, firm pressure so each lip takes a real chip. Small bits want higher speed and a light touch. If you see smoke or brown dust, you are burning the temper out of the cutting edge and you will be sharpening again in ten minutes.
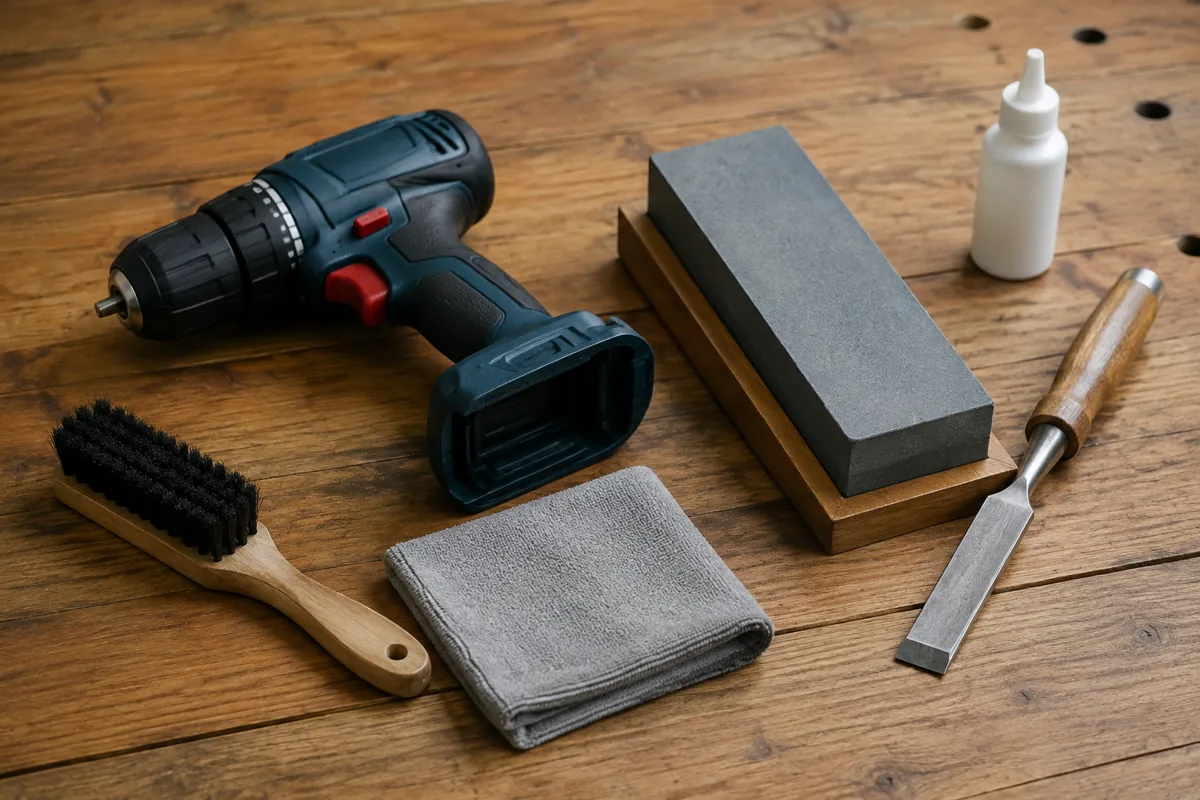
Auger and file set for drill bit touch-ups
A proper auger bit file has safe edges, meaning one face has no teeth, so you can file the inside of a spur without accidentally cutting the neighboring surface. Pair it with a couple of small diamond needle files for brad points and Forstner rims. This is a cheap drawer item that keeps expensive bits in service for years, and it is the single most neglected purchase in most home shops.
A Routine You Will Actually Keep
Sharpening fails as a habit when it is a project. Make it a ninety second interruption instead. Keep your finest stone and a strop out on the bench, not in a drawer. When a chisel starts to feel like it is pushing instead of slicing, you stop, take five strokes on the micro-bevel, two on the back, a dozen on the strop, and keep working. You will do that ten times before you ever need to go back to coarse grit.
Full sharpening sessions, the ones with the coarse plate and the honing guide, happen when you chip an edge, when you inherit a rusty tool, or once a season on everything at the same time. Set aside an hour, put something on the radio, and work through the whole rack. It is genuinely satisfying, and the first cut you make afterward will remind you why people get strange about this hobby.
Honing guide with leather strop and compound
The fastest path from frustrated to sharp. A side-clamping honing guide takes the wobble out of your stroke while you build muscle memory, and a leather strop with green or white compound is the finishing step that most tutorials rush past. Buy both together, keep them within arm’s reach of the bench, and your touch-up routine stops being a chore you postpone.
FAQ
How often should I be sharpening woodworking tools? By feel, not by calendar. A chisel tells you it is dull when it stops taking a clean shaving off end grain or when it needs shoving. A drill bit tells you when it starts making dust instead of chips, when it squeals, or when you smell wood burning. Touch up early and the job takes a minute. Wait until the edge is rounded over and you are back to coarse grit.
Can I sharpen carbide-tipped bits and blades at home? Carbide is harder than every abrasive except diamond, so a fine diamond hone can clean up a carbide edge and buy you time. But proper carbide sharpening on saw blades and router bits needs specialized equipment and a professional service, which usually costs a fraction of replacement. Resin buildup also masquerades as dullness far more often than people think, so clean the bit first and see if the problem goes away.
Do powered sharpening systems beat hand stones? They win on speed and on repairing badly damaged edges. A slow-speed wet grinder removes metal without cooking the temper and will reshape a chipped iron in a couple of minutes, which is tedious work by hand. For routine honing, hand abrasives are faster in practice because there is nothing to set up. My honest take is that a powered system is a second purchase, not a first one. Learn the edge by hand, then decide whether you have enough tools to justify the machine.
Sharp tools are safer tools. A dull chisel skates, a dull bit grabs and torques the drill out of your hands, and both make you push harder than you should. Get the routine down, keep your abrasives where you can reach them, and the rest of your woodworking gets easier by itself.
Check prices on Amazon →